Getting Started with Kubernetes on your Windows laptop with Minikube but this time with a Mac machine. The other big difference here is that this is not with Minikube, which you can still
install on a Mac. It is with a Edge version of Docker on Mac.
We shall cover the following in this post:
- Installing Docker on Mac Edge version
- Go through the basic Kubernetes commands to validate our environment.
This tutorial assumes that you know about Docker and Kubernetes in general. To quote from my previous article, I do not want to spend time explaining about what Kubernetes is and its building blocks like Pods, Replication Controllers, Services, Deployments and more. There are multiple articles on that and I suggest that you go through it.
I have written a couple of other articles that go through a high level overview of Kubernetes:
It is important that you go through some basic material on its concepts, so that we can directly get down into its commands.
Docker for Mac installation
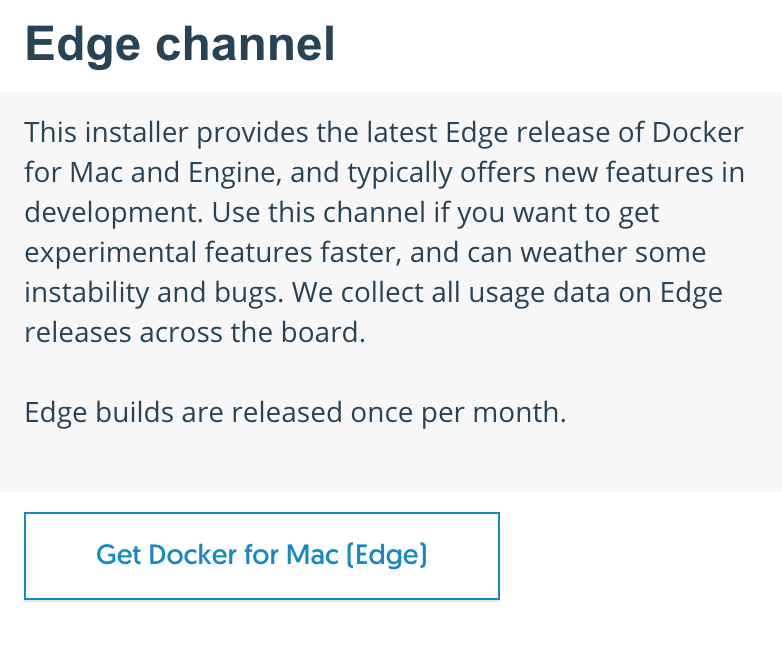
As per the official documentation, Kubernetes is only available in Docker for Mac 17.12 CE Edge. Go to the official download page and click on the Edge channel and not the Stable version.
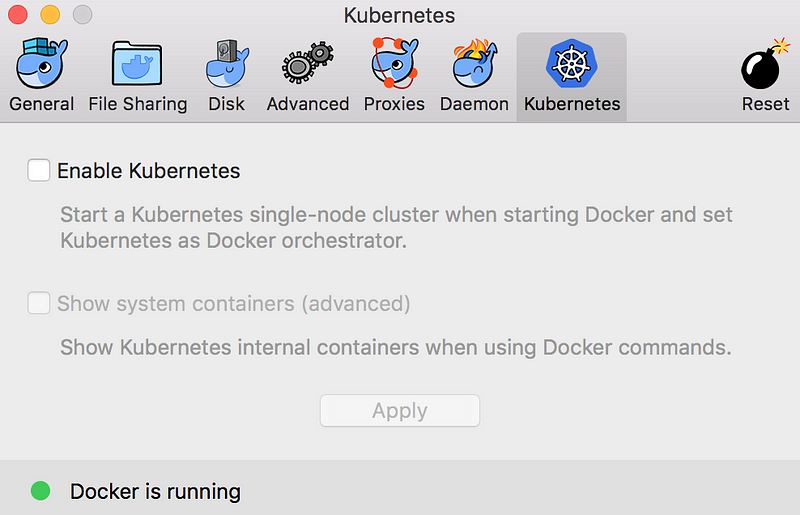
You will notice that Kubernetes is not enabled. Simply check on the Enable Kubernetes option and then hit the Apply button as shown below:
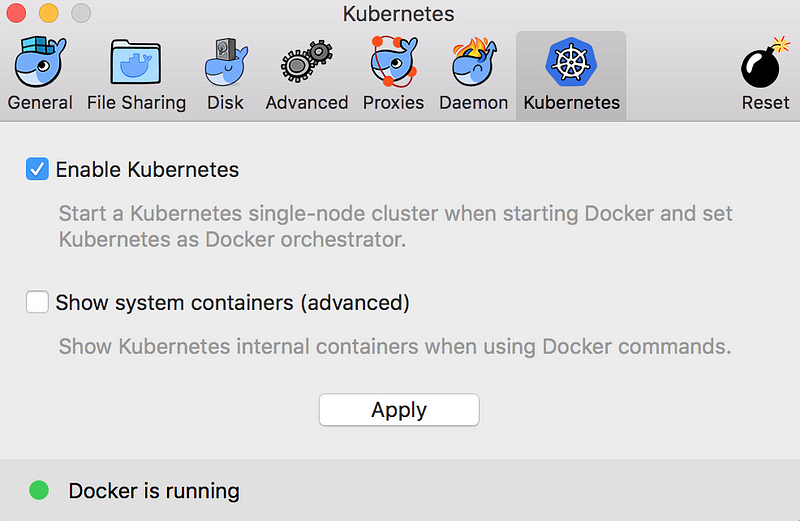
This will display a message that the Kubernetes cluster needs to be installed. Make sure you are connected to the Internet and click on Install
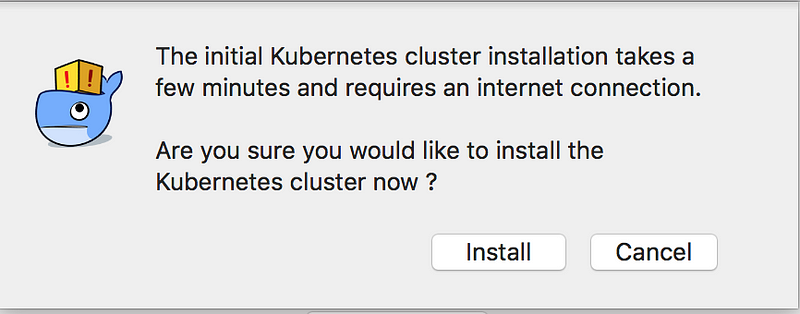
The installation starts. Please be patient since this could take a while depending on your network. It would have been nice to see a small log window that shows a sequence of steps

Finally, you should see the following message:

Click on Close. This will lead you back to the Preferences dialog and you should see the following screen:
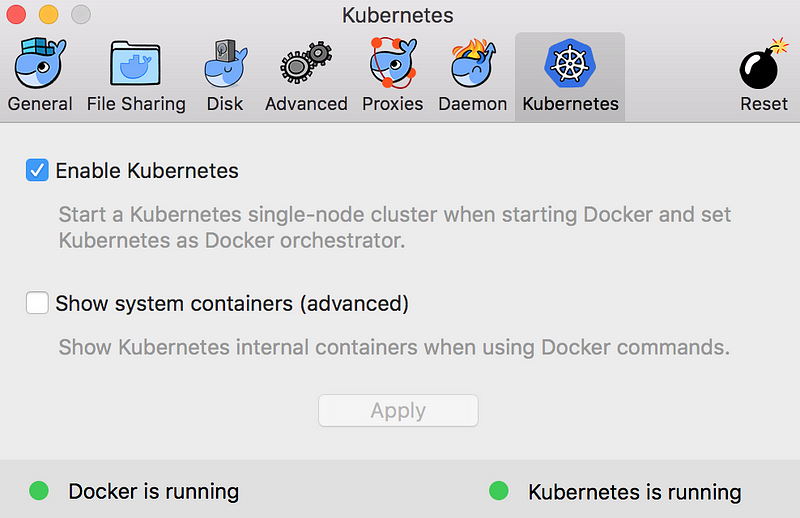
Note the two messages at the bottom of the window mentioning:
- Docker is running
- Kubernetes is running
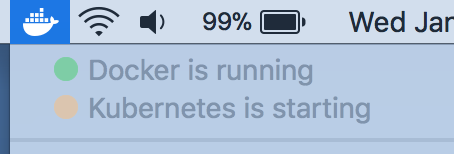
In case you stop running and try to run Docker again, you will notice that both Docker and Kubernetes services are starting as shown below:
Congratulations! You now have the following:
- A standalone Kubernetes server and client, as well as Docker CLI integration.
- The Kubernetes server is a single-node cluster and is not configurable.
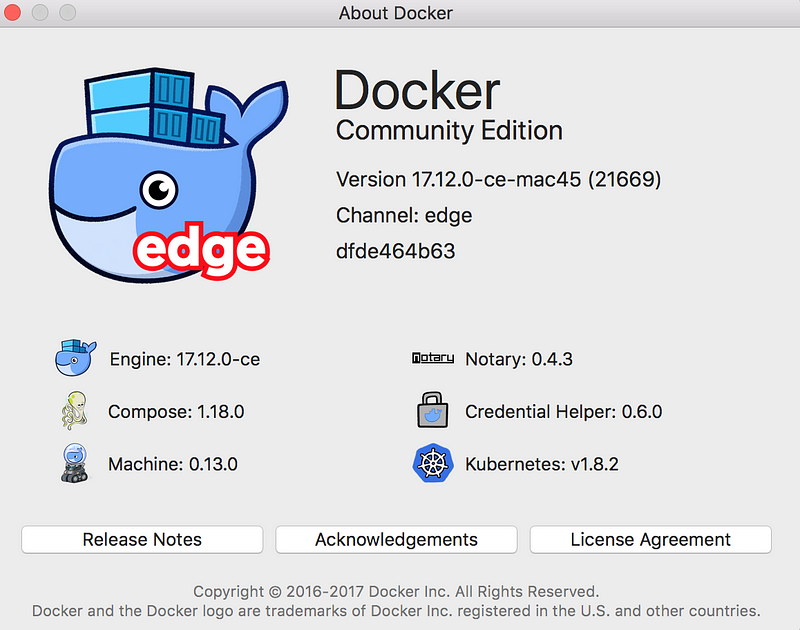
Just FYI … my About Docker shows the following:
Check our installation
Let us try out a few things to ensure that we can make sense of what has got installed. Execute the following commands in a terminal:
$ kubectl version
Client Version: version.Info{Major:”1", Minor:”8", GitVersion:”v1.8.4", GitCommit:”9befc2b8928a9426501d3bf62f72849d5cbcd5a3", GitTreeState:”clean”, BuildDate:”2017–11–20T05:28:34Z”, GoVersion:”go1.8.3", Compiler:”gc”, Platform:”darwin/amd64"}
Server Version: version.Info{Major:”1", Minor:”8", GitVersion:”v1.8.2", GitCommit:”bdaeafa71f6c7c04636251031f93464384d54963", GitTreeState:”clean”, BuildDate:”2017–10–24T19:38:10Z”, GoVersion:”go1.8.3", Compiler:”gc”, Platform:”linux/amd64"}
You might have noticed that my server and client versions are different. I am using kubectl from my gCloud SDK tools and Docker for Mac, when it launched the Kubernetes cluster has been able to set the cluster context for the kubectl utility for you. So if we fire the following command:
$ kubectl config current-context
docker-for-desktop
You can see that the cluster is set to docker-for-desktop.
Tip: In case you switch between different clusters, you can always get back using the following:
$ kubectl config use-context docker-for-desktop
Switched to context “docker-for-desktop”
Let us get some information on the cluster.
$ kubectl cluster-info
Kubernetes master is running at https://localhost:6443
KubeDNS is running at https://localhost:6443/api/v1/namespaces/kube-system/services/kube-dns/proxy
Let us check out the nodes in the cluster:
$ kubectl get nodes
NAME STATUS ROLES AGE VERSION
docker-for-desktop Ready master 7h v1.8.2
Installating the Kubernetes Dashboard
The next step that we need to do here is to install the Kubernetes Dashboard. We can use the Kubernetes Dashboard YAML that is available and submit the same to the Kubernetes Master as follows:
$ kubectl create -f https://raw.githubusercontent.com/kubernetes/dashboard/master/src/deploy/recommended/kubernetes-dashboard.yaml
secret “kubernetes-dashboard-certs” created
serviceaccount “kubernetes-dashboard” created
role “kubernetes-dashboard-minimal” created
rolebinding “kubernetes-dashboard-minimal” created
deployment “kubernetes-dashboard” created
service “kubernetes-dashboard” created
The Dashboard application will get deployed as a Pod in the kube-system namespace. We can get a list of all our Pods in that namespace via the following command:
$ kubectl get pods — namespace=kube-system
NAME READY STATUS RESTARTS AGE
etcd-docker-for-desktop 1/1 Running 0 8h
kube-apiserver-docker-for-desktop 1/1 Running 0 7h
kube-controller-manager-docker-for-desktop 1/1 Running 0 8h
kube-dns-545bc4bfd4-l9tw9 3/3 Running 0 8h
kube-proxy-w8pq7 1/1 Running 0 8h
kube-scheduler-docker-for-desktop 1/1 Running 0 7h
kubernetes-dashboard-7798c48646-ctrtl 1/1 Running 0 3m
Ensure that the Pod shown in bold is in Running state. It could take some time to change from ContainerCreating to Running, so be patient.
Once it is in running state, you can setup a forwarding port to that specific Pod. So in our case, we can setup 8443 for the Pod Name as shown below:
$ kubectl port-forward kubernetes-dashboard-7798c48646-ctrtl 8443:8443 — namespace=kube-system
Forwarding from 127.0.0.1:8443 -> 8443
You can now launch a browser and go to https://localhost:8443. You might see some warnings but proceed. You will see the following screen:
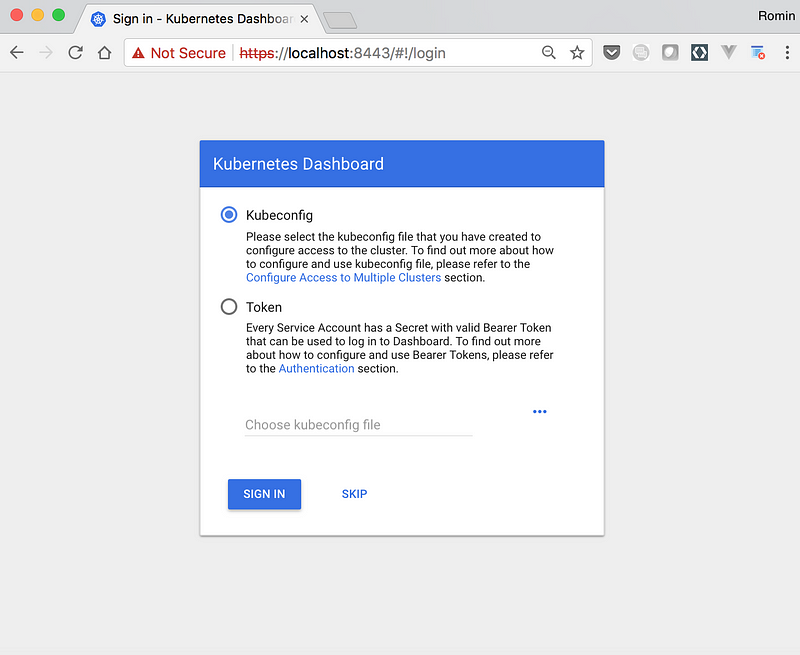
Click on SKIP and you will be lead to the Dashboard as shown below:
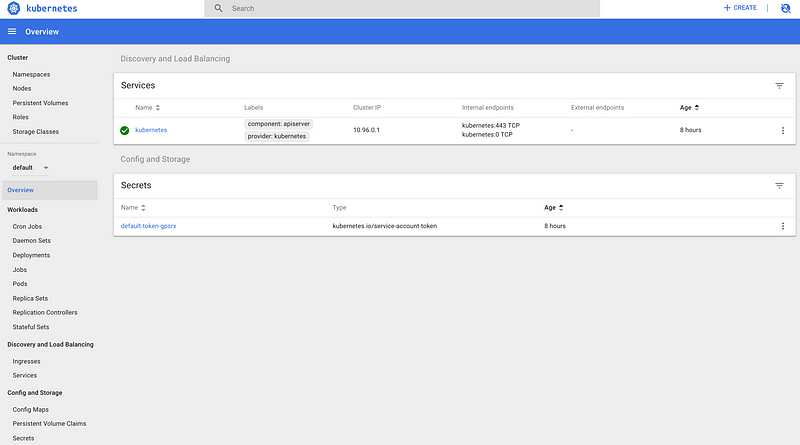
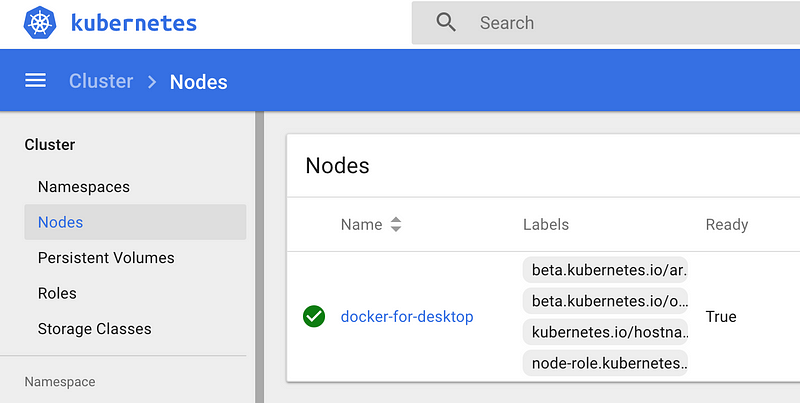
Click on Nodes and you will see the single node as given below:
Running a Workload
Let us proceed now to running a simple Nginx container to see the whole thing in action:
We are going to use the run command as shown below:
$ kubectl run hello-nginx --image=nginx --port=80
deployment “hello-nginx” created
This creates a deployment and we can investigate into the Pod that gets created, which will run the container:
$ kubectl get pods
NAME                         READY STATUS            RESTARTS AGE
hello-nginx-5d47cdc4b7-wxf9b 0/1   ContainerCreating 0        16s
You can see that the STATUS column value is ContainerCreating.
Now, let us go back to the Dashboard and see the Deployments:

You can notice that if we go to the Deployments option, the Deployment is listed and the status is still in progress. You can also notice that the Pods value is 0/1.
If we wait for a while, the Pod will eventually get created and it will ready as the command below shows:
$ kubectl get pods
NAME                         READY STATUS  RESTARTS AGE
hello-nginx-5d47cdc4b7-wxf9b 1/1   Running 0        3m

No comments:
Post a Comment