Showing posts with label Jenkins. Show all posts

Sunday, 13 November 2016

Jenkins – Maven Setup


Step 1: Downloading and Setting Up Maven

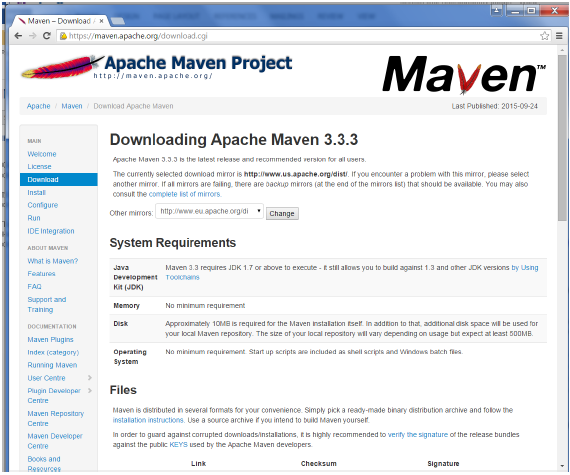
The official website for maven is Apache Maven. If you click the given link, you can get the home page of the maven official website as shown below.
Maven Setup
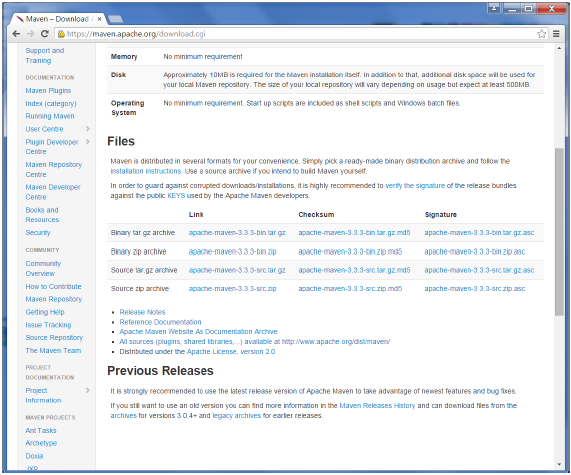
While browsing to the site, go to the Files section and download the link to the Binary.zip file.
Maven Download
Once the file is downloaded, extract the files to the relevant application folder. For this purpose, the maven files will be placed in E:\Apps\apache-maven-3.3.3.

Step 2: Setting up Jenkins and Maven

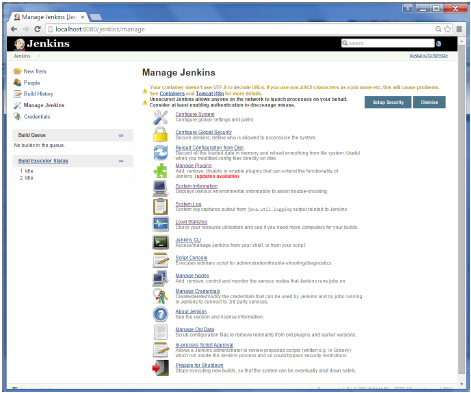
In the Jenkins dashboard (Home screen), click Manage Jenkins from the left-hand side menu.
Setting Maven Jenkins
Then, click on ‘Configure System’ from the right hand side.
Manage Jenkins1Manage Jenkins2
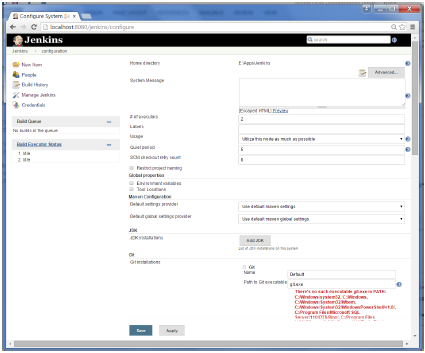
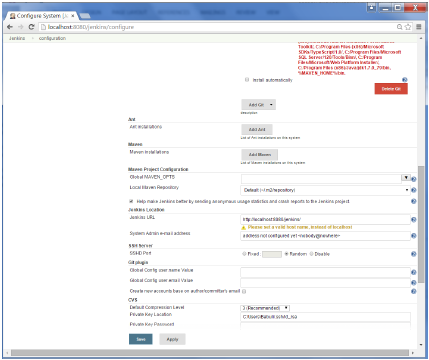
In the Configure system screen, scroll down till you see the Maven section and then click on the ‘Add Maven’ button.
Add Maven
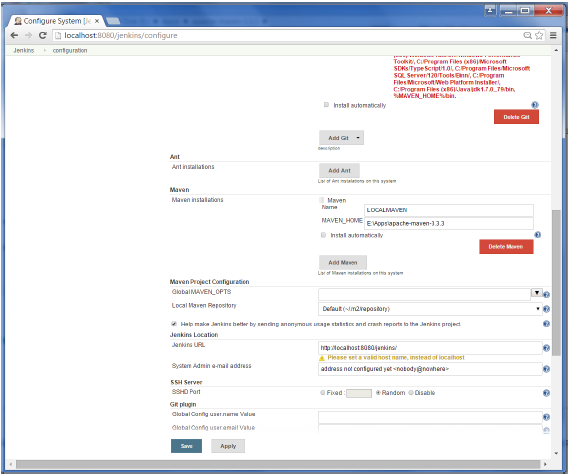
Uncheck the ‘Install automatically’ option.
Add any name for the setting and the location of the MAVEN_HOME.
Then, click on the ‘Save’ button at the end of the screen.
Configure Maven
You can now create a job with the ‘Maven project’ option. In the Jenkins dashboard, click the New Item option.
Jenkins Dashboard1

Jenkins - Git Setup


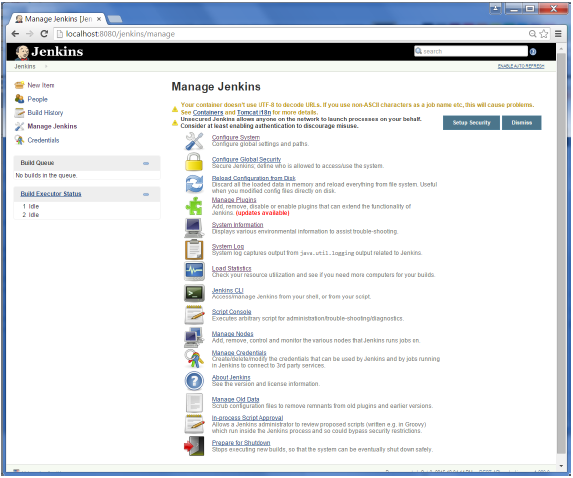
For this exercise, you have to ensure that Internet connectivity is present from the machine on which Jenkins is installed. In your Jenkins Dashboard (Home screen), click the Manage Jenkins option on the left hand side.
Jenkins Git Setup
In the next screen, click the ‘Manage Plugins’ option.
Manage Jenkins
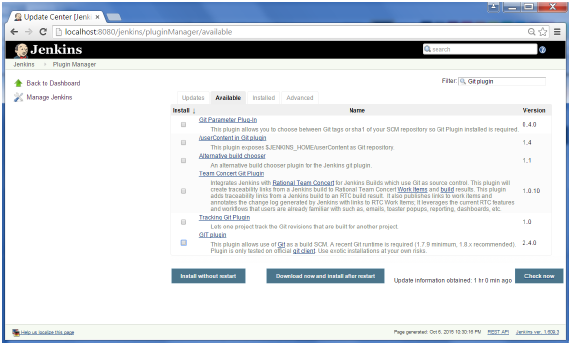
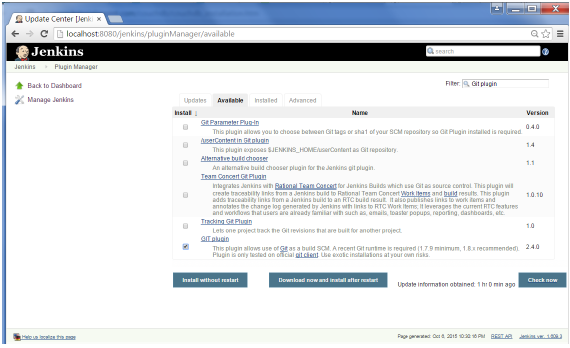
In the next screen, click the Available tab. This tab will give a list of plugins which are available for downloading. In the ‘Filter’ tab type ‘Git plugin’
Available tab
The list will then be filtered. Check the Git Plugin option and click on the button ‘Install without restart’
Git Plugin
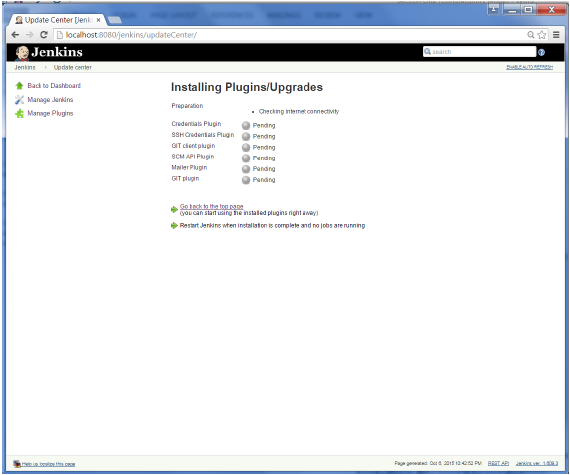
The installation will then begin and the screen will be refreshed to show the status of the download.
Installing Plugins Upgrades
Once all installations are complete, restart Jenkins by issue the following command in the browser. http://localhost:8080/jenkins/restart
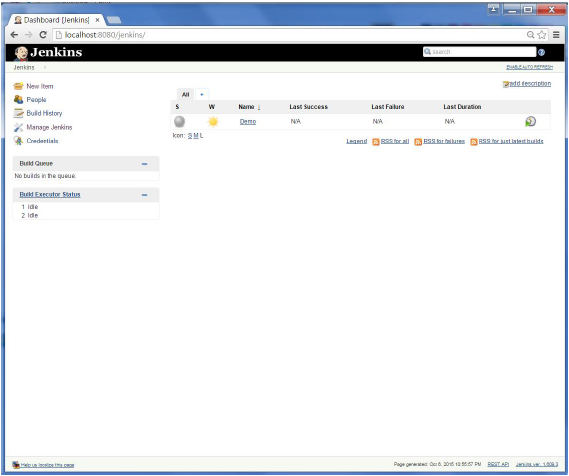
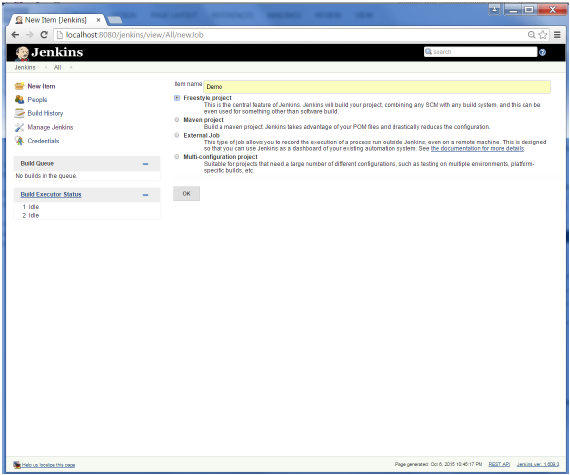
After Jenkins is restarted, Git will be available as an option whilst configuring jobs. To verify, click on New Item in the menu options for Jenkins. Then enter a name for a job, in the following case, the name entered is ‘Demo’. Select ‘Freestyle project’ as the item type. Click the Ok button.
New Item Jenkins
In the next screen, if you browse to the Source code Management section, you will now see ‘Git’ as an option.

Jenkins – Tomcat Setup


The following prerequisites must be met for Jenkins Tomcat setup.

Step 1: Verifying Java Installation

To verify Java installation, open the console and execute the following java command.
OSTaskCommand
WindowsOpen command console\>java –version
LinuxOpen command terminal$java –version
If Java has been installed properly on your system, then you should get one of the following outputs, depending on the platform you are working on.
OSOutput
Windows
Java version "1.7.0_60"
Java (TM) SE Run Time Environment (build 1.7.0_60-b19)
Java Hotspot (TM) 64-bit Server VM (build 24.60-b09, mixed mode)
Linux
java version "1.7.0_25"
Open JDK Runtime Environment (rhel-2.3.10.4.el6_4-x86_64)
Open JDK 64-Bit Server VM (build 23.7-b01, mixed mode)
We assume the readers of this tutorial have Java 1.7.0_60 installed on their system before proceeding for this tutorial.
In case you do not have Java JDK, you can download it from the link Oracle

Step 2: Verifying Java Installation

Set the JAVA_HOME environment variable to point to the base directory location where Java is installed on your machine. For example,
OSOutput
WindowsSet Environmental variable JAVA_HOME to C:\ProgramFiles\java\jdk1.7.0_60
Linuxexport JAVA_HOME=/usr/local/java-current
Append the full path of the Java compiler location to the System Path.
OSOutput
WindowsAppend the String; C:\Program Files\Java\jdk1.7.0_60\bin to the end of the system variable PATH.
Linuxexport PATH=$PATH:$JAVA_HOME/bin/
Verify the command java-version from command prompt as explained above.

Step 3: Download Tomcat

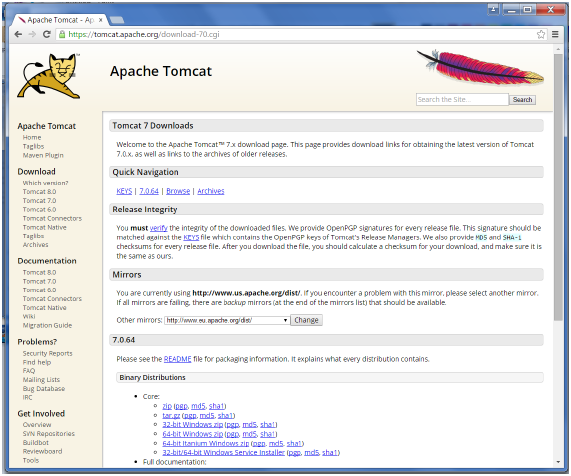
The official website for tomcat is Tomcat. If you click the given link, you can get the home page of the tomcat official website as shown below.
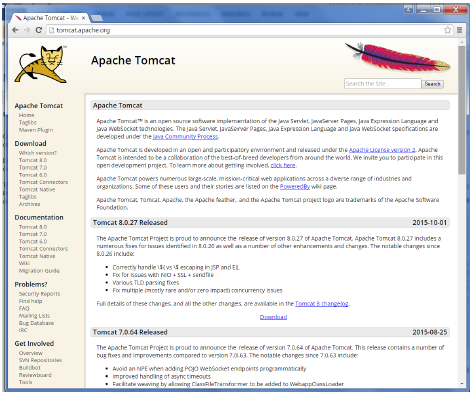
Download Tomcat1
Browse to the link https://tomcat.apache.org/download-70.cgi to get the download for tomcat.
Download Tomcat2
Go to the ‘Binary Distributions’ section. Download the 32-bit Windows zip file.
Then unzip the contents of the downloaded zip file.

Step 4: Jenkins and Tomcat Setup

Copy the Jenkis.war file which was downloaded from the previous section and copy it to the webapps folder in the tomcat folder.
Now open the command prompt. From the command prompt, browse to the directory where the tomcat7 folder is location. Browse to the bin directory in this folder and run the start.bat file
E:\Apps\tomcat7\bin>startup.bat
Once the processing is complete without major errors, the following line will come in the output of the command prompt.
INFO: Server startup in 1302 ms
Open the browser and go to the link − http://localhost:8080/jenkins. Jenkins will be up and running on tomcat.
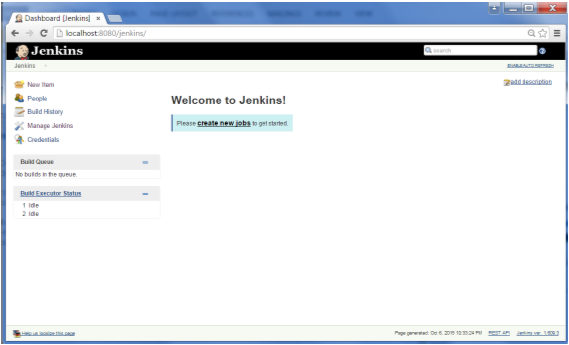
Jenkins and Tomcat Setup

Jenkins - Installation


Download Jenkins

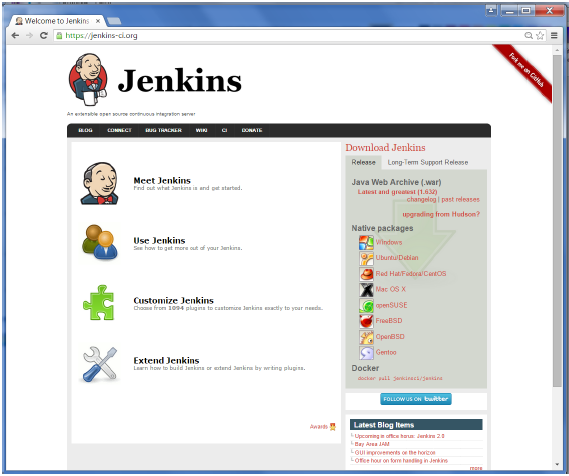
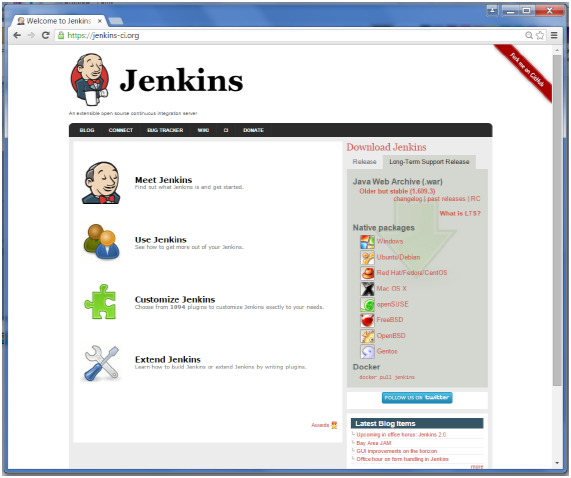
The official website for Jenkins is Jenkins. If you click the given link, you can get the home page of the Jenkins official website as shown below.
Download Jenkins1
By default, the latest release and the Long-Term support release will be available for download. The past releases are also available for download. Click the Long-Term Support Release tab in the download section.
Download Jenkins2
Click the link “Older but stable version” to download the Jenkins war file.

Starting Jenkins

Open the command prompt. From the command prompt, browse to the directory where the jenkins.war file is present. Run the following command
D:\>Java –jar Jenkins.war
After the command is run, various tasks will run, one of which is the extraction of the war file which is done by an embedded webserver called winstone.
D:\>Java –jar Jenkins.war
Running from: D:\jenkins.war
Webroot: $user.home/ .jenkins
Sep 29, 2015 4:10:46 PM winstone.Logger logInternal
INFO: Beginning extraction from war file
Once the processing is complete without major errors, the following line will come in the output of the command prompt.
INFO: Jenkins is fully up and running

Accessing Jenkins

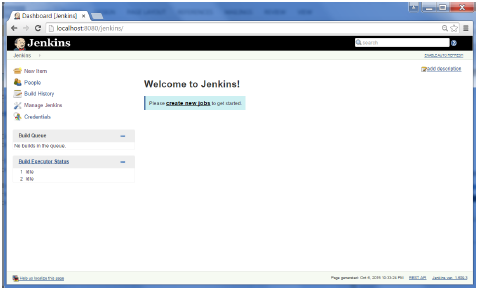
Once Jenkins is up and running, one can access Jenkins from the link − http://localhost:8080
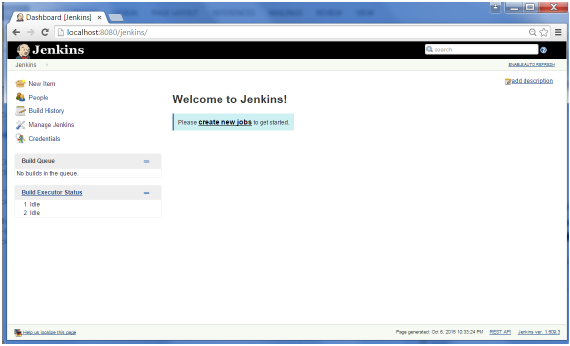
This link will bring up the Jenkins dashboard.

Jenkins - Overview


Why Jenkins?

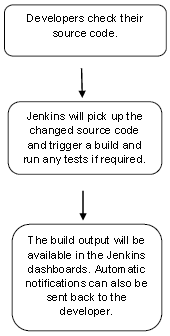
Jenkins is a software that allows continuous integration. Jenkins will be installed on a server where the central build will take place. The following flowchart demonstrates a very simple workflow of how Jenkins works.
Why Jenkins
Along with Jenkins, sometimes, one might also see the association of Hudson. Hudson is a very popular open-source Java-based continuous integration tool developed by Sun Microsystems which was later acquired by Oracle. After the acquisition of Sun by Oracle, a fork was created from the Hudson source code, which brought about the introduction of Jenkins.

What is Continuous Integration?

Continuous Integration is a development practice that requires developers to integrate code into a shared repository at regular intervals. This concept was meant to remove the problem of finding later occurrence of issues in the build lifecycle. Continuous integration requires the developers to have frequent builds. The common practice is that whenever a code commit occurs, a build should be triggered.

System Requirements

JDKJDK 1.5 or above
Memory2 GB RAM (recommended)
Disk SpaceNo minimum requirement. Note that since all builds will be stored on the Jenkins machines, it has to be ensured that sufficient disk space is available for build storage.
Operating System VersionJenkins can be installed on Windows, Ubuntu/Debian, Red Hat/Fedora/CentOS, Mac OS X, openSUSE, FReeBSD, OpenBSD, Gentoo.
Java ContainerThe WAR file can be run in any container that supports Servlet 2.4/JSP 2.0 or later.(An example is Tomcat 5).

Jenkins Tutorial


Jenkins is a powerful application that allows continuous integration and continuous delivery of projects, regardless of the platform you are working on. It is a free source that can handle any kind of build or continuous integration. You can integrate Jenkins with a number of testing and deployment technologies. In this tutorial, we would explain how you can use Jenkins to build and test your software projects continuously.


Audience


This tutorial is going to help all those software testers who would like to learn how to build and test their projects continuously in order to help the developers to integrate the changes to the project as quickly as possible and obtain fresh builds.

Prerequisites


Jenkins is a popular tool for performing continuous integration of software projects. This is a preliminary tutorial that covers the most fundamental concepts of Jenkins. Any software professional having a good understanding of Software Development Life Cycle should benefit from this tutorial.

Ansible: Roles

Use Ansible roles to orchestrate more complex configurations.Let's create a new directory named  nginx , which will be a Role. Then we...